I had a fall wreath on my door, but wanted to hang something up that represented the winter season. Well a huge snowflake sounded perfect. I just didn't know how I was going to do it, until I saw this! Hope this tutorial is easy to follow! Note: I used a glue stick which did great for the most part. I have seen these made with different colored paper too. You could add all kinds of embellishments to make these really sparkle! :o)
 |
| What you need. (Also a stapler and/or tape.) |
 |
| 1. Fold to form a square |
 |
| 2. Cut excess paper and leave square folded as triangle |
 |
| 3. Fold triangle in half |
 |
| 5. Cut six 1 cm thick diagonal slits, stopping 1/4" from edge. Open paper up carefully. |
 |
| 4. Triangles fold is on the bottom |
 |
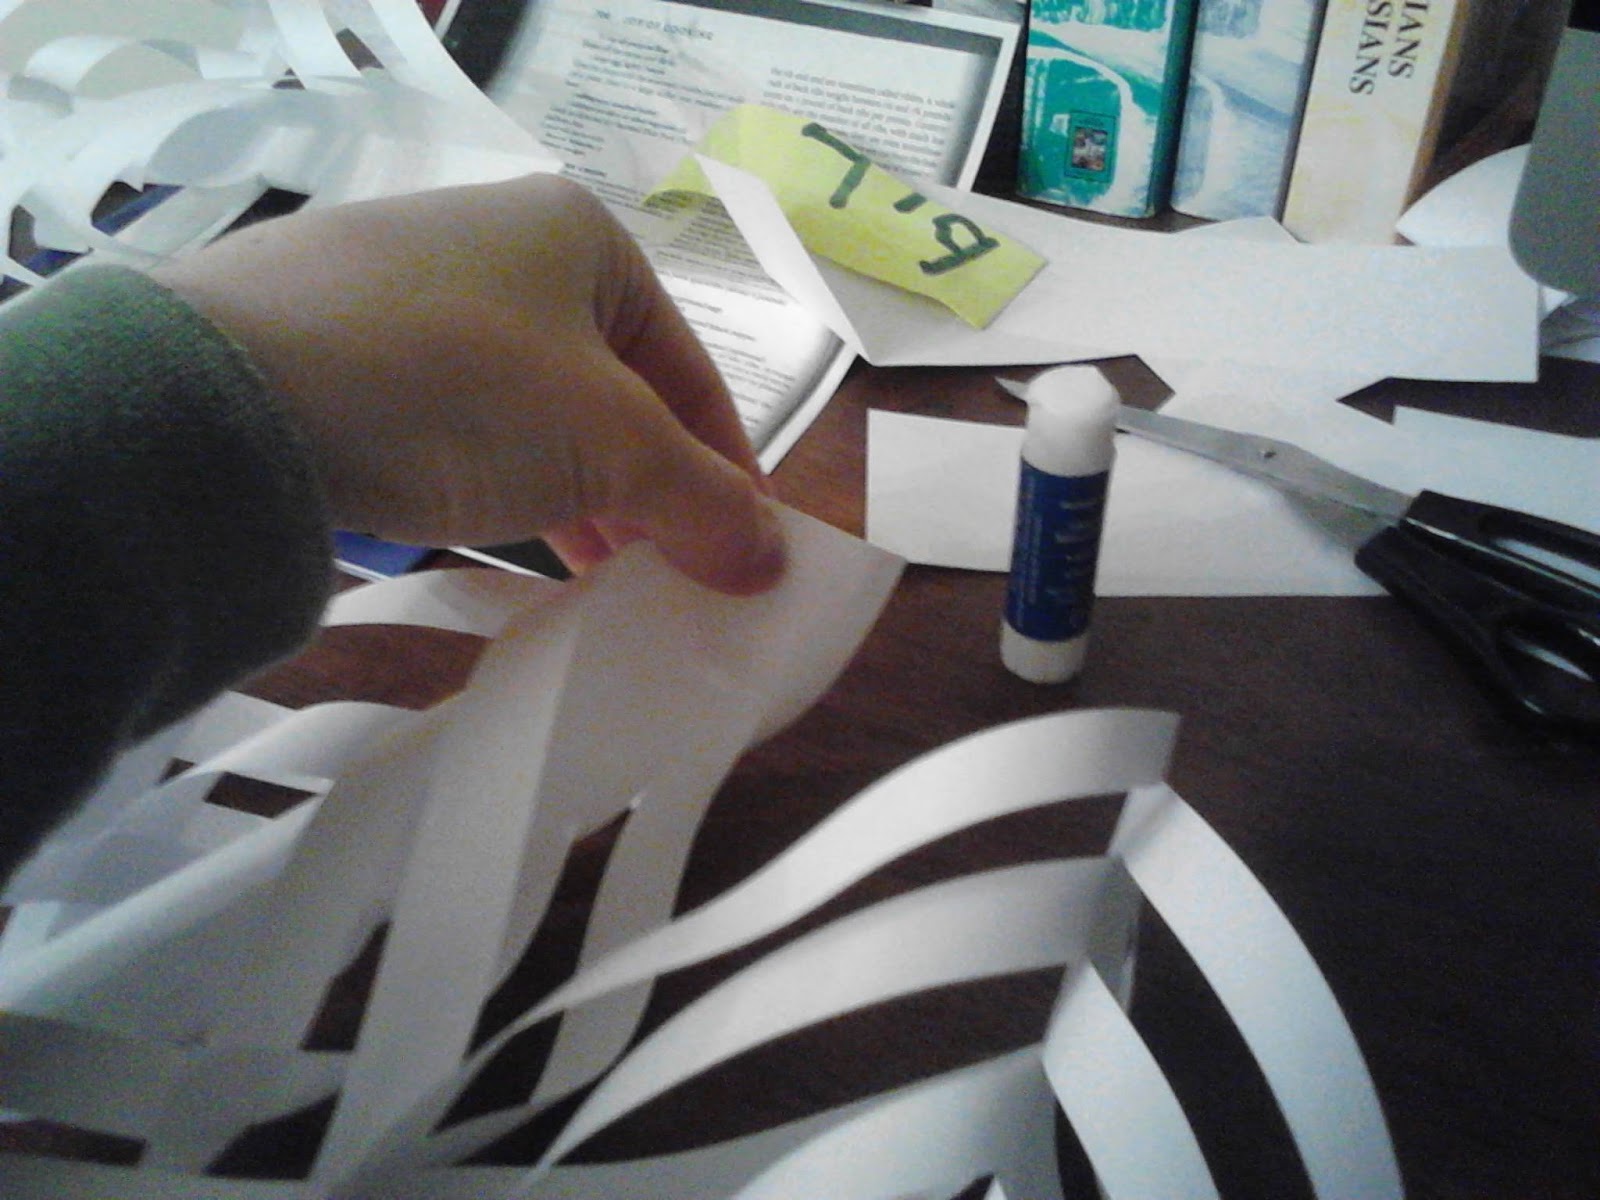
| 6. Roll up middle slits and paste or tape together |
 |
| 7. Flip over and paste together the next strips. |
 |
| 8. Flip over and do the next strips. Repeat until done. |
 |
| Finished piece. Do five more of these for a total of six. |
 |
| 9. Paste the pieces together on their sides to make a row. |
 |
| Paste on middle of X. |
 |
| Finished row of snowflake pieces. |
 |
| It will begin to look like this. |
 |
| 10. Paste together the tops of the snowflake pieces. |
 |
| The paste wasn't holding too well in the middle, so I added one staple for extra security. |
 |
| 11. On last piece, paste the X spots together. |
 |
| All finished and hanging on my front door! |
No comments:
Post a Comment
So what are you thinking now? :]